Crimson Moon Builds: 9-Slot Loadouts & Gear Strategy
Master the classless 9-gear-slot system in Crimson Moon. Six complete build archetypes, 1H/Shield/Polearm Weapon Art combos, Nexus Boons, and Gajov upgrades.
Crimson Moon features a classless build system across nine gear slots: four armor pieces, two trinkets, a 1H weapon with shield, and a 2H polearm. Builds combine three active Weapon Arts, Nexus Gate Boons, and an Angel companion.
The Classless 9-Slot Architecture of Crimson Moon
Crimson Moon eliminates rigid character classes. Instead of locking your Nephilim into a predetermined skill tree, every run beginning at Sanctus Clypeus allows you to assemble a custom combat identity across nine equipment slots, an Angel companion, and evolving Nexus Gate Boons:
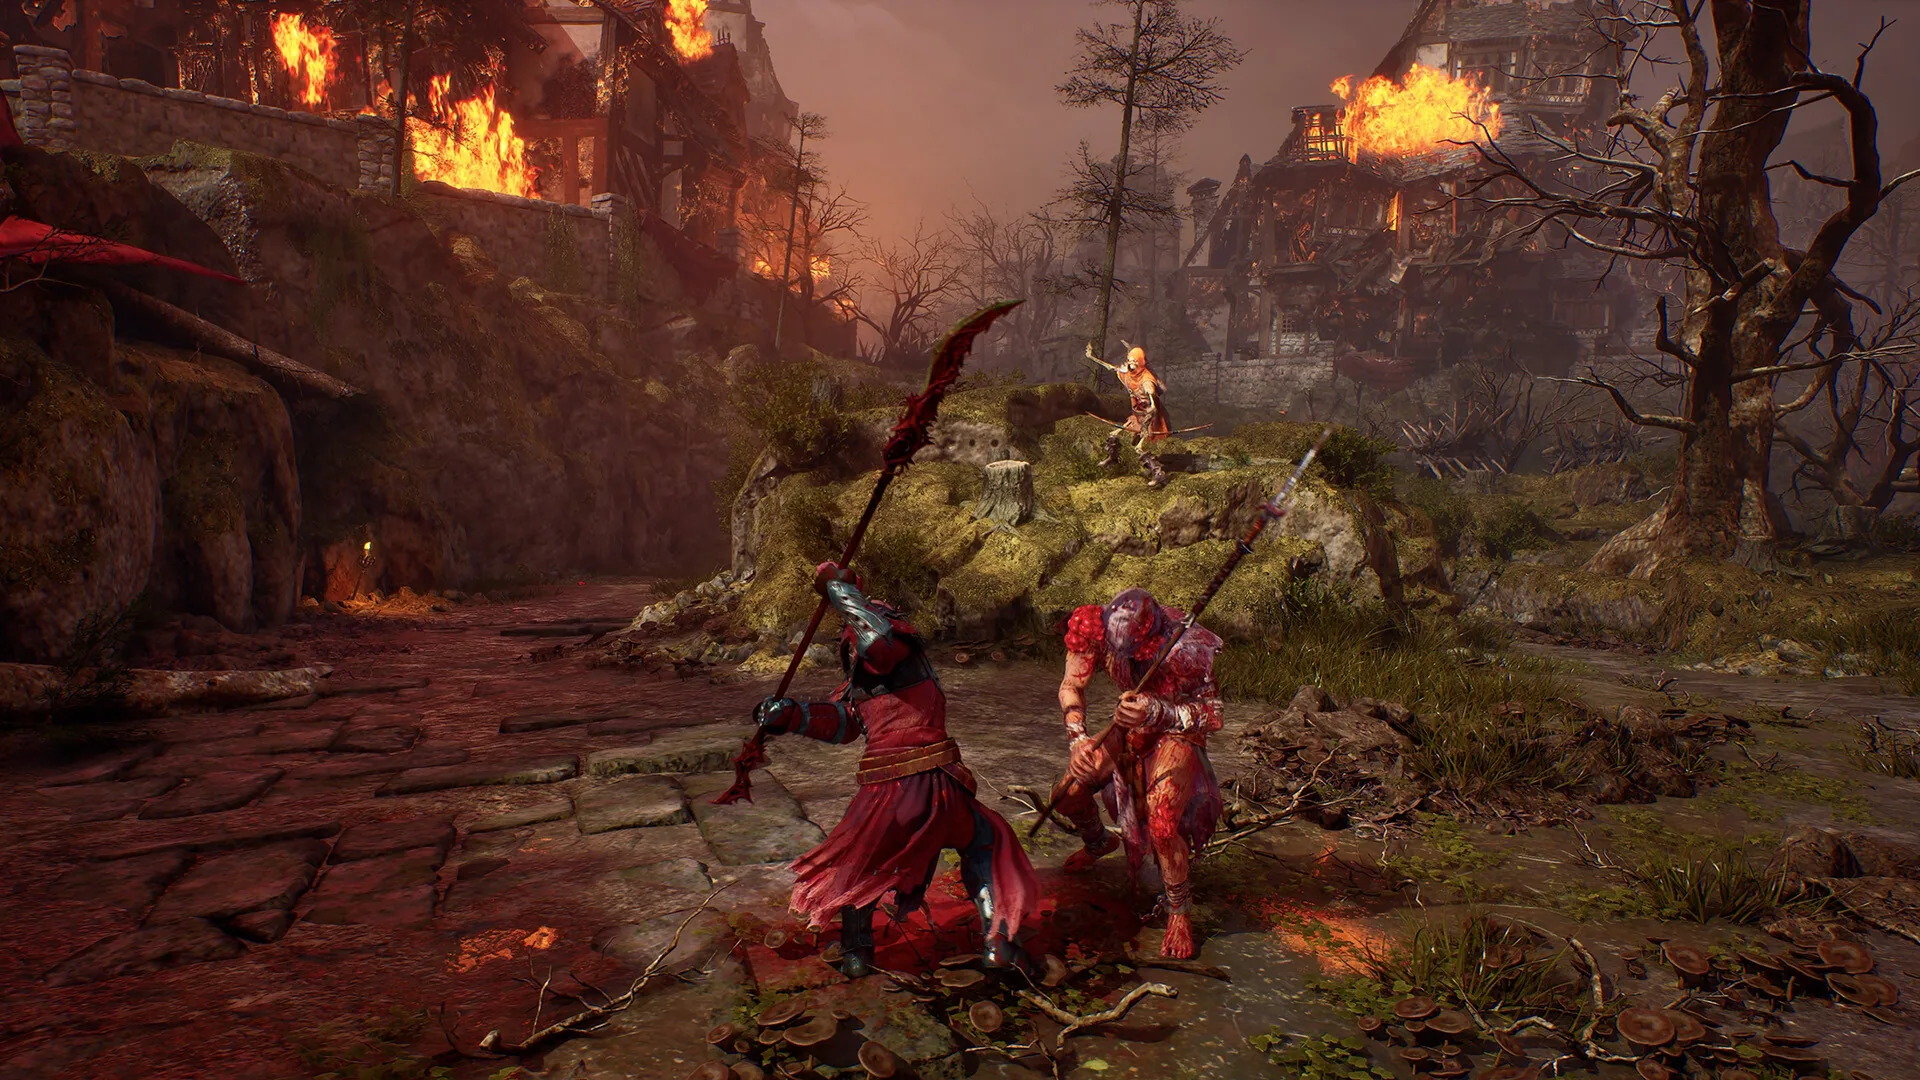
A complete endgame build coordinates five interlocking layers:
- Four Armor Slots: Helm, Chest, Gloves, and Boots. Matching pieces belonging to larger armor sets grants specialized set synergies tailored to offensive pressure or survivability.
- Two Trinket Slots: Accessories stocked via Lotte or looted in Gildenarch that augment core stats, elemental affinities, and flask utility.
- One-Handed Weapon + Off-Hand Shield: Your primary combat stance. Both your main-hand weapon and your off-hand shield carry independent Weapon Arts, giving you two active skills before even swapping weapons.
- Two-Handed Polearm: Your secondary heavy armament (halberds, glaives, poleaxes, and great axes), contributing a third independent Weapon Art and wide-arc cleaves.
- Nexus Gate Boons & Angel Companion: Chosen before and during your three-mission hunt to amplify damage, debuff enemies, restore health, or regenerate healing flasks.
Complete 9 Gear Slots & Triple Weapon Art Breakdown
Understanding how the nine equipment slots interact—especially the triple Weapon Art rotation across your main weapon, shield, and polearm—is the foundation of high-difficulty Ward clearing:
| Equipment Category | Slot Number & Name | Combat & Build Role | Documented Synergy Examples |
|---|---|---|---|
| Armor Set (4 Slots) | Slot 1: Helm | Head protection & set bonus piece | Combine matching armor sets discovered across Gildenarch Wards |
| Armor Set (4 Slots) | Slot 2: Chest Armor | Core physical & elemental mitigation | Anchors frontline durability against Death Knights and Demon Brutes |
| Armor Set (4 Slots) | Slot 3: Gloves | Melee handling & offensive tempo | Supports aggressive melee builds that trigger health-restore Boons |
| Armor Set (4 Slots) | Slot 4: Boots | Mobility & trail Weapon Art synergy | Pairs with movement arts like Fire Trail, Ice Trail, and Poison Trail |
| Accessories (2 Slots) | Slot 5: Trinket 1 | Primary stat & status amplifier | Stocked via Lotte in Sanctus Clypeus or purified from Ward chests |
| Accessories (2 Slots) | Slot 6: Trinket 2 | Sustain, flask & cooldown utility | Reinforces expedition endurance across all three Ward missions |
| Primary Set (2 Slots) | Slot 7: 1H Main Weapon | Fast slashes / crushing blows + Weapon Art 1 | Examples: Axe of the Gods (Empower), Revenant Blade (Winter Sun) |
| Primary Set (2 Slots) | Slot 8: Off-Hand Shield | Blocking / parrying + Weapon Art 2 | Examples: Sovereign’s Shield (Angelic Bulwark), Mahkten Shield (Fireball) |
| Secondary Set (1 Slot) | Slot 9: 2H Polearm | Wide cleaves / reach + Weapon Art 3 | Examples: Crescent Moon Halberd (Winter Solstice), Cultravix (Rupturing Slash) |
6 Verified Build Archetypes (1H + Shield + Polearm Combos)
Because every weapon and shield in Crimson Moon carries a specific Weapon Art from the twenty-eight verified abilities, you can construct highly specialized loadouts at the Loadout Station. The complete catalogue of weapons, shields, and all 28 Weapon Arts is documented in our weapons guide:
| Build Archetype | 1H Main Weapon (Art 1) | Off-Hand Shield (Art 2) | 2H Polearm (Art 3) | Core Combat Loop & Boon Priority |
|---|---|---|---|---|
| 1. Bastion Paladin | Axe of the Gods (Empower) | Sovereign’s Shield or Shield of the Zealot (Angelic Bulwark) | Drakeward (Whirlwind) | Cast Angelic Bulwark to place a defensive ground zone for you and allies, pop Empower to boost all defenses and damage, then spin through mobs with Whirlwind. |
| 2. Glacial Frost Controller | Revenant Blade or Sword of the Lunar Sentinel (Winter Sun) | Lunar Sentinel Shield (Ice Trail) | Crescent Moon Halberd (Winter Solstice) | Kite Feral Vampires through your Ice Trail, encase surrounding packs in Frost with Winter Sun, and shatter lined-up elites with Winter Solstice or Leviathan Great Axe (Reaper Whirlwind). |
| 3. Hemorrhage & Recall Striker | Scirax or Recantation (Gouging Throw) | Telvaught Clan Shield (Bleed Projectiles) | Cultravix or Wyrmtongue (Rupturing Slash) | Fire homing Bleed Projectiles from your shield, hurl your 1H blade with Gouging Throw to apply Bleed and recall it on command, then swap to your polearm for Rupturing Slash. |
| 4. Pyresworn Flame Inquisitor | Burning Heart (Aura of the Burning Heart) or Dragon Assassin Broadsword (Fire Burst) | Mahkten Shield (Fireball) or Belwayne Aegis (Fire Trail) | Reaper Poleaxe (Homing Projectiles) | Maintain continuous close-range burn with Aura of the Burning Heart, snipe airborne Imps with Homing Projectiles and Fireball, and draft offensive damage Boons. |
| 5. Blight & Rot Alchemist | Rotkin’s Thorn (Sword of Rot) or Belwayne Sword (Avenging Pestilence) | Rotkin Shield (Poison Trail) | Akyreon’s Tongue (Egregore Explosion) | Coat corridors in toxic hazards using Poison Trail and Sword of Rot thorn waves, then detonate grouped Reborn Cultists with Egregore Explosion. |
| 6. Status Detonator (Boss Killer) | Sovereign’s Sword (Purifying Blast) | Belwayne Aegis (Fire Trail) or Telvaught Clan Shield (Bleed Projectiles) | Leviathan Great Axe (Reaper Whirlwind) | Stack Frost, Bleed, or Burning on a District Vessel or Dead God using your shield and polearm, then swap to Sovereign’s Sword and trigger Purifying Blast to consume all status effects for massive burst damage. |
Detailed Breakdown of Top Meta Builds
1. The Status Detonator (Sovereign’s Sword + Multi-Status Stacking)
One of the highest single-target burst mechanics documented on the community wiki is Purifying Blast, the signature Weapon Art bound to Sovereign’s Sword. According to the official Weapon Arts directory, Purifying Blast consumes all status effects on the targeted enemy to cause a burst of damage.
- How to Build It: Pair Sovereign’s Sword in your 1H slot with an off-hand shield that passively applies status stacks—such as Belwayne Aegis (Fire Trail), Rotkin Shield (Poison Trail), Lunar Sentinel Shield (Ice Trail), or Telvaught Clan Shield (Bleed Projectiles)—and equip Leviathan Great Axe (Reaper Whirlwind) or Cultravix (Rupturing Slash) in your 2H slot.
- Co-Op Multiplication: In two-player online co-op, if your partner runs a dedicated Poison, Bleed, or Burning build, your Purifying Blast can detonate the combined status stacks applied by both Nephilim during World Boss stagger windows.
2. Crushing Posture Breaker (Earth & Shield Vanguard)
Against heavily armored Death Knights, Demon Brutes, and General Valahk-Nor, raw elemental trails are less effective than immediate stagger and Crushing damage:
- 1H Weapon: Soldier’s Hammer or Champion’s Sword (both carry Earthen Strike, which summons a stalagmite wave from the earth dealing Crushing damage to enemies in its path).
- Off-Hand Shield: Crimson Oath Shield, Champion Shield, or Revenant Shield (all carry Shield Bash, blasting forward with your shield to deal Crushing damage), or Covenant Cleric Shield (Empower).
- 2H Polearm: Defiled Night (unlocked from Cardinal Mathias, firing magic projectiles in all directions and knocking away surrounding enemies when you get swarmed).
Evolving Your Build Mid-Run: Nexus Gates & Mereda’s Scrolls
As developer Team Metal explains, the nine-slot loadout you assemble at Sanctus Clypeus is only the starting line. As you fight through each of the three Ward missions prior to the World Boss, you pass through Nexus Gates offering temporary Boons that remain active for the rest of your run:
- Five Official Boon Categories: Confirmed Nexus Gate Boons can (a) increase your damage, (b) debuff enemies, (c) restore health during battle, (d) regenerate healing flasks, or (e) reward aggressive melee play.
- Adapt or Specialize: At each Nexus Gate, decide whether to double down on your equipped Weapon Arts (such as stacking offensive multipliers on a Rupturing Slash bleed setup) or patch a survival gap (picking flask regeneration or health restoration before the World Boss).
- Unlocking More Boons with Mereda: Recover Lore Scrolls hidden throughout Gildenarch and return them to Mereda the Order’s historian inside Sanctus Clypeus. Mereda rewards your scroll discoveries by permanently unlocking additional Boons for future Nexus Gate pools, and also offers Blessings in exchange for Souls.
Loadout Station Rules, Purification & Gajov’s Rarity Floor
To avoid losing progress or entering a Dead God fight under-geared, master these three operational rules confirmed by Team Metal:
- Why the Loadout Station Locks Between Missions: A full run consists of three missions followed by a World Boss. Returning to Sanctus Clypeus between Missions 1, 2, and 3 does not end your active run; consequently, the Loadout Station remains unavailable (appearing elevated above you) until you either complete the full run or exhaust your life pool. Finalize all nine gear slots and your Angel companion before starting Mission 1.
- Purification Unlocks Items at Common Quality: Purifying a weapon, shield, armor piece, or trinket discovered during a hunt permanently adds that item to your Loadout Station collection. However, purifying an item permanently unlocks it at Common quality, regardless of the quality tier you found it at during the run.
- Upgrading Minimum Quality Everywhere with Gajov: Take your unlocked Common gear to Gajov the vampire blacksmith in Sanctus Clypeus. Upgrading an item with Gajov permanently increases its minimum quality everywhere—meaning a weapon upgraded to Uncommon or Rare will never appear below that rarity tier again, whether equipped from your Loadout Station or dropped from chests and enemies in Gildenarch.
- Numerical values and patch scalings reflect live retail release version 1.0.0 for Crimson Moon.
- Cross-verified against official developer patch notes and active Steam community databases.
Verified Strategy FAQ
4 Entries1 How does the classless build system work in Crimson Moon? ↓
There are no traditional RPG character classes in Crimson Moon. Every Nephilim equips nine pieces of gear: four pieces of armor, two trinkets, a one-handed weapon with an off-hand shield, and a two-handed polearm. Your playstyle is defined by the synergy between your three equipped Weapon Arts, armor set bonuses, Nexus Gate Boons, and Angel companion.
2 How many active Weapon Arts can a build use at once? ↓
Because your primary one-handed weapon, your off-hand shield, and your secondary two-handed polearm can each carry their own Weapon Art on an independent cooldown, a fully equipped Nephilim can rotate up to three distinct Weapon Arts during combat.
3 Why is the Loadout Station unavailable when I return to Sanctus Clypeus? ↓
A full expedition run consists of three Ward missions followed by a World Boss. Returning to Sanctus Clypeus between missions does not end your active run, so the Loadout Station stays locked until you defeat the World Boss or exhaust your life pool.
4 How do Purification and Gajov upgrades affect build crafting? ↓
Purifying any discovered item permanently unlocks it in your collection at Common quality. Bringing that item to Gajov the vampire blacksmith in Sanctus Clypeus permanently increases its minimum rarity floor everywhere—both at the Loadout Station and in future loot drops.
Source note: Tactical data cross-checked against official releases and validated community playthroughs. Independent fan compilation for Crimson Moon.